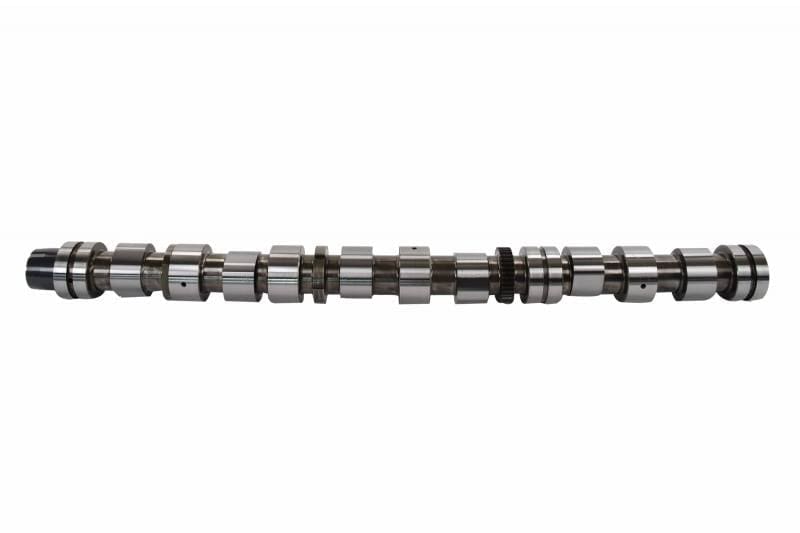
The camshaft plays a critical role in how your engine runs.
On a Caterpillar C15 diesel engine, even minor camshaft wear can affect:
- Valve timing
- Fuel delivery performance
- Overall engine efficiency
👉 If the camshaft fails, it can lead to serious internal engine damage.
A Caterpillar C15 camshaft replacement is not a small job. It requires proper timing, precision, and a clear understanding of the engine’s setup.

Signs of a Bad Camshaft
Before a Caterpillar C15 camshaft replacement, it’s important to confirm the failure.
Before jumping into a full replacement, it’s important to confirm the camshaft is actually the issue.
👉 If you’re not sure yet, this guide breaks down the symptoms and failure causes in detail:
Caterpillar C15, 3406E Camshaft Guide
Common symptoms include:
- Loss Of Power Under Load
- Rough Idle Or Engine Stalling
- Excessive Engine Noise (Knocking Or Ticking)
- Reduced Fuel Economy
- Hard Starting Or No Start Condition
Even small wear can affect performance.
👉 As little as .001″ wear can change valve timing by several degrees, impacting how the engine runs.
What Causes Camshaft Failure on a C15
Camshaft failure is rarely random.
Most failures are caused by:
- Poor Lubrication (Oil Issues)
- Contaminated Engine Oil
- Worn Rollers Or Lifters
- Improper Installation From Previous Repairs
👉 Before installing a new camshaft, always identify the root cause to prevent repeat failure.
How to Replace a Caterpillar C15 Camshaft
This is a high-level process. Exact procedures may vary depending on your engine configuration.
1. Preparation
- Disconnect batteries
- Drain engine oil
- Remove valve covers
- Inspect visible valvetrain components
2. Set Engine to Top Dead Center (TDC)
Rotate the engine and lock it at Top Dead Center (TDC).
- Use a timing pin to secure the flywheel
- This ensures proper timing during reassembly
👉 This step is critical – incorrect timing can cause engine damage.
3. Remove Front Timing Components
- Remove the front timing cover (“peanut cover”)
- Gain access to the cam gear
4. Remove the Cam Gear
- Use a proper gear puller or removal tool
- Carefully remove the cam gear without damaging surrounding components
5. Remove Rocker Assemblies
- Remove rocker arms and shaft assemblies
- Keep components organized for reinstallation
6. Remove the Camshaft
- Carefully slide the camshaft out
- Avoid damaging cam bearings during removal
👉 This is where many installs go wrong – any scoring or damage can lead to premature failure.
7. Inspect and Replace Bearings
- Always install new camshaft bearings
- Inspect for wear, scoring, or oiling issues
8. Install the New Camshaft
- Lubricate bearings and camshaft thoroughly
- Carefully slide the new camshaft into place
9. Reinstall Components and Set Timing
- Reinstall cam gear
- Align timing marks correctly (typically 12 o’clock alignment)
- Install retainer plate and torque bolts properly
👉 Camshaft bolt torque: ~180 ft-lbs (verify per spec)
10. Final Assembly
- Reinstall rocker assemblies
- Set valve lash to specification
- Reinstall timing cover and remaining components
Important Installation Tips
When replacing a camshaft on a C15, pay attention to:
- Always Verify Fitment Using ESN
- Replace Bearings and Related Components
- Keep All Components Clean
- Follow Torque Specifications Exactly
- Double-Check Timing Alignment
👉 One mistake here can lead to complete engine failure.
Why Camshaft Installs Fail (And How to Prevent It)
Most repeat failures are caused by:
- Reusing worn components
- Improper timing alignment
- Skipping bearing replacement
- Not addressing oil system issues
👉 A camshaft replacement is not just a part swap – it’s a system repair.
At Highway and Heavy Parts, we help you identify the problem and get the right parts the first time.
Call 844-304-7688 or visit highwayandheavyparts.com to place your order today.
From diagnosis through delivery, we’re Highway and Heavy Parts.


